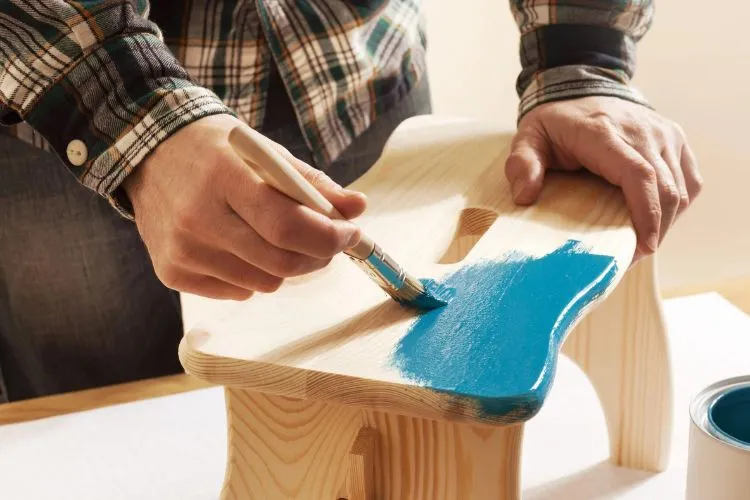
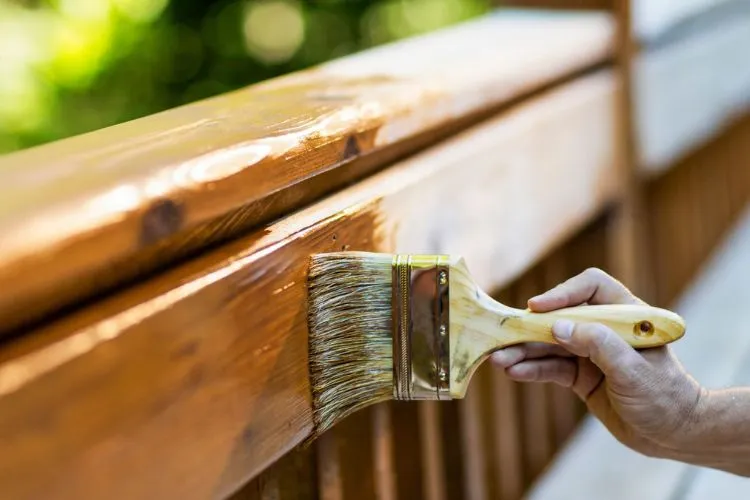
Priming wood for acrylic painting is a crucial step in the preparation process, ensuring that the paint adheres properly and that the artwork’s durability and appearance are optimized.
Different types of wood can serve as an excellent canvas for artists when properly prepared. This guide covers how to prime wood for acrylic painting, the types of primers available, and a step-by-step approach to prime wood effectively for acrylic painting.

Understanding Wood Priming
Why Prime Wood?
Wood, by its nature, is porous and tends to absorb paint. This can lead to a lackluster finish and may also cause the wood to warp over time.
Priming wood seals its surface, creating a smooth and non-porous layer that allows the paint to sit on top rather than soaking in. This not only enhances the brightness and longevity of the colors but also contributes to the stability of the wood panel.
Types of Primer for Wood
There are several options when it comes to choosing a primer for wood. Gesso, a white paint mixture, has been the traditional choice for artists looking to prepare their wood surfaces.
Its thick consistency creates a smooth surface that is ideal for acrylic painting. Acrylic mediums offer a modern alternative to gesso, providing a clear or tinted base that can enhance the natural color of the wood.
For those seeking an ultra-smooth finish, sanding sealer can be used as a preliminary coat before applying gesso or acrylic mediums, filling in the wood grain and reducing the number of primer coats required.
How to Prime Wood for Acrylic Painting?
The preparation of the wood surface is as important as the priming itself. Starting with a clean surface is essential. Dust and grease can prevent the primer from adhering properly, so the wood should be wiped down thoroughly.
Next, sanding the wood helps to create an even surface. A medium to fine grit sandpaper is usually recommended, and the process should be done gently to avoid creating grooves or uneven areas.
Also, any imperfections such as cracks or holes should be filled in, and knots sealed to prevent them from bleeding through the paint.
Priming Process Step-by-Step

Applying Gesso
To apply gesso, gather a wide brush, roller, or spray gun, depending on the desired application method. Gesso should be applied in thin layers, allowing each layer to dry thoroughly before applying the next.
Typically, two to three coats are sufficient, but this can vary depending on the wood’s absorbency and the artist’s preference. Lightly sanding between coats ensures a smooth finish.
Using Acrylic Medium or Sanding Sealer
When opting for an acrylic medium or sanding sealer as a primer, the approach is slightly different. These materials may require fewer coats than gesso, and the application methodology will vary according to the product’s specifications.
For those seeking a clear primer that reveals the wood’s natural grain, acrylic mediums are ideal. If using a sanding sealer, it should be applied sparingly and sanded smooth before applying a top coat of gesso or acrylic medium.
After Priming
Once the final coat of primer has dried, it’s important to inspect the surface for any missed spots or imperfections, applying touch-ups as necessary. Proper preparation at this stage sets the foundation for a successful acrylic painting.
Maintenance and Care of Primed Wood
Store your primed panels flat and away from direct sunlight or extreme temperatures to prevent warping or damage to the primed surface. Handle the panels delicately before starting your painting to keep the surface clean and smooth.

Pro Tips
Adjusting the thickness of the primer can affect your painting surface. Thicker layers of gesso may create a more textured base for those who enjoy a tactile painting experience, while thinner layers provide a smoother surface for detailed work.
It’s also important to consider the temperature and humidity of your working environment, as these factors can affect drying times and the overall results of your priming process.
Troubleshooting Common Issues
Sometimes, despite careful preparation, issues such as bubbling, peeling, or uneven texture can occur. These problems are often due to environmental factors or inadequate surface preparation.
If the primer does not adhere to the wood, sanding the area lightly and reapplying a thin coat of primer can typically resolve the issue.
You may also find useful: How to Fix Cracked Acrylic Painting?
Frequently Asked Questions (FAQs)
Can I use household paint as a primer for my wood panel?
While household paint can provide a base coat, it is not formulated to seal the wood or provide the ideal surface for acrylic painting. It’s best to use materials specifically designed for art purposes.
How long should I wait before painting over the primed wood surface?
Drying times can vary, but it’s generally recommended to wait at least 24 hours after the final coat of primer before beginning to paint. This ensures the primer is fully dry and ready to support the paint layers.
Is it necessary to prime wood if I want a natural wood grain look with acrylic paints?
For a natural wood grain look, a clear acrylic medium can be used as a primer. This will seal the wood while allowing its natural color and grain to show through.
Can I prime over a previously painted wood surface?
Yes, as long as the existing paint layer is clean, dry, and free of peeling or flaking. Lightly sand the surface before applying the primer to ensure proper adhesion.
What do I do if the primer is applied too thickly or dries with brush marks?
Lightly sand the surface to smooth out any thick spots or brush marks. In the future, apply thinner layers of primer and allow each layer to dry completely before adding another.
Conclusion:
Priming wood for acrylic painting is a pivotal step that should not be overlooked. It not only enhances the aesthetic quality of the painting but also contributes to the longevity and stability of the artwork.
By following the steps outlined, artists can ensure a well-prepared canvas that brings out the best in their acrylic paints.
Whether you’re a novice or seasoned artist, taking the time to prime your wood properly can make a significant difference in the outcome of your work.
Experiment with different priming techniques and materials to discover what works best for you and your artistic approach.

Meet Isabella Anderson, your acrylic painting mentor with over a decade of brush-wielding mastery. Dive into the colorful world of acrylics with her expert guidance, featured exclusively on ‘Acrylic Authority.’ Unleash your inner artist and explore the limitless possibilities of this versatile medium alongside a true acrylic aficionado.
