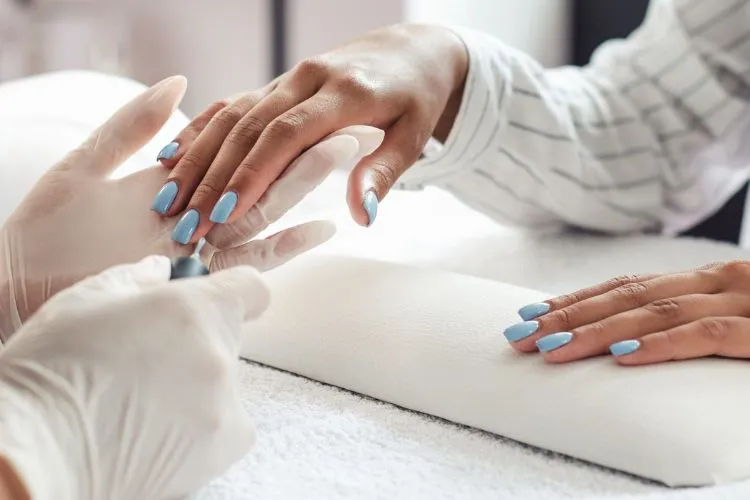
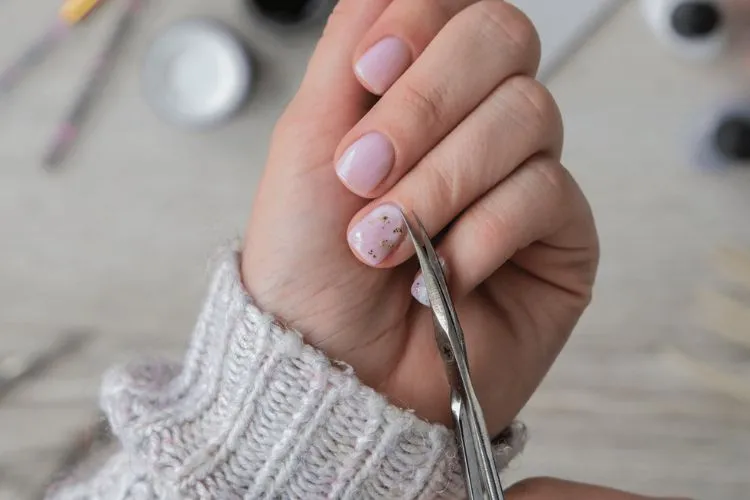
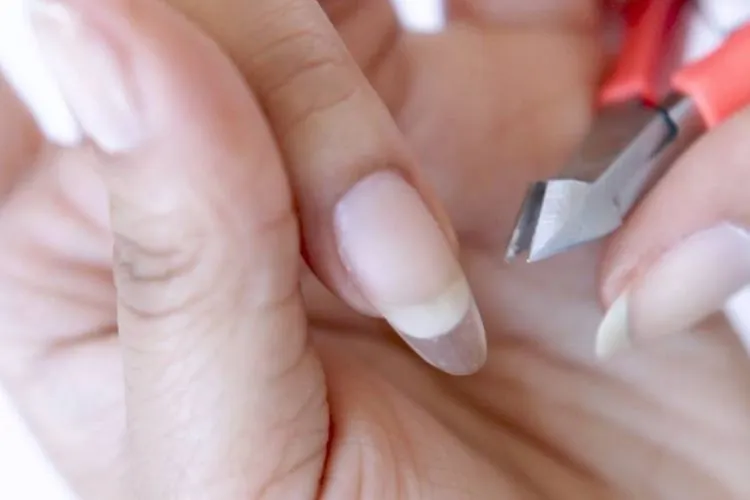
Acrylic nails have been a long-standing favorite in the beauty world for their ability to extend nail length and strength, allowing for a polished, manicured look.
However, as much as acrylic nails beautify the hands, removing them requires patience and the right technique to avoid damaging the natural nails underneath.
Below, we guide you through the process of how to remove acrylic nails at home, ensuring your natural nails remain healthy and intact.

Understanding Acrylic Nails
Acrylic nails consist of a combination of a liquid monomer and a powder polymer that creates a hard protective layer over the natural nail when applied.
This artificial nail enhancement is popular for its durability and longevity, allowing wearers to enjoy lengthy, stylish nails for weeks.
The removal of acrylic nails is a delicate process because improper techniques can lead to damage such as splits, tears, or even infections in the natural nails.
Preparing for Removal

Before diving into the removal process, it’s crucial to have all the necessary tools at your disposal. You’ll need acetone, cotton balls, aluminum foil, a nail file, a nail buffer, and cuticle oil.
It’s also wise to set up your workspace in a well-ventilated area to avoid the inhalation of strong fumes from the acetone. Organize these tools in an easily accessible manner to streamline the removal process.
How to Remove Acrylic Nails?
1. Acetone Soak Off Method
The most common and effective method for removing acrylic nails involves using acetone. Start by gently filing the surface of the acrylic nails to break the seal and reduce their thickness. This step makes the acetone soak more effective.
Apply acetone to cotton balls, place them on your nails, and wrap each fingertip in aluminum foil. The foil helps to keep the cotton balls in place and prevents the acetone from evaporating too quickly.
Patience is key during this stage. The soaking time can vary, but it’s typically around 20-30 minutes. For a quicker soak, you might wrap your hands in a warm towel, which helps to speed up the process by heating the acetone.
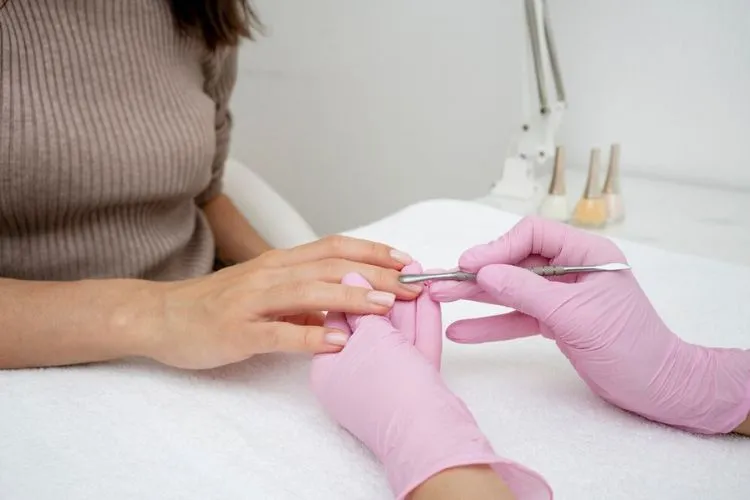
Once the acrylic has softened, gently remove the foil and cotton balls. Use a nail stick to scrape off the softened acrylic gently. Avoid using too much force to prevent damage to the underlying natural nail.
Following the removal, buff your nails lightly and moisturize them thoroughly with a nail conditioner and cuticle oil to restore hydration.
2. Alternative Methods Without Acetone
For those who prefer to avoid acetone, other methods exist, though they may be less effective. The warm water soak method involves soaking the nails in warm, soapy water, which can help loosen the acrylic without the harsh chemicals.
However, this method requires more time and may not remove the acrylic as effectively.
Another acetone-free method is to file down the acrylic nails. This involves using a nail file to reduce the length and thickness of the acrylic coat gradually.
While this method avoids chemical use, it demands patience and care to prevent damage to the natural nails.
Tips for Nail Care Post-Removal

After successfully removing the acrylic nails, it’s important to give your natural nails some tender love and care. Moisturizing is key; apply cuticle oil daily to promote hydration and recovery.
If possible, take a break from applying any nail enhancements to allow your natural nails to recover fully. During this time, you can apply a nail strengthener or treatment to help fortify the nails and improve their condition.
Troubleshooting Common Issues
Sometimes, despite following the steps accurately, you may encounter issues such as stubborn acrylic residue or discomfort during the removal process.
In these cases, it’s best to soak the nails for a longer period rather than force the removal, which could lead to damage. If you experience significant pain or notice signs of damage to your natural nails, consult a professional to address the issue safely.
Safety Precautions Before Starting

Before attempting to remove acrylic nails at home, safety should be your top priority. Always conduct an allergy patch test to rule out sensitivity to acetone, the primary solvent used in the removal process.
Adequate ventilation is also crucial to prevent inhaling strong fumes, so work in a well-aired room or near an open window.
Protect your skin by applying a thin layer of petroleum jelly around your nails, and wear gloves on the hand not being treated to reduce direct contact with acetone.
You may also find useful: Hard Gel Nails vs Acrylic Nails: Which is Best for You?
Frequently Asked Questions (FAQs)
How Long Does It Take to Remove Acrylic Nails?
The time it takes to remove acrylic nails can vary depending on the method used and the thickness of the acrylic. Typically, the acetone soak off method takes about 20-30 minutes.
Can I Reapply Acrylic Nails After Removal?
Yes, you can reapply acrylic nails after removing them, but it’s advisable to allow your natural nails some time to recover before doing so.
Are There Any Signs of Damage I Should Look For?
After removal, if you notice excessive dryness, splits, or brittleness in your natural nails, these could be signs of damage. Moisturizing and using a nail strengthener can help mitigate these issues.
Is It Safe to Remove Acrylic Nails at Home?
Yes, with the right technique and precautions, removing acrylic nails at home can be as safe as professional removal.
What Are the Best Products to Use for Moisturizing After Removal?
Look for products specifically designed for nail care, such as cuticle oils and hand creams enriched with vitamins and natural oils to promote nail health and recovery.
Conclusion:
In summary, removing acrylic nails safely at home is achievable with the right tools and techniques, primarily through acetone soaking or alternative methods for those wishing to avoid harsh chemicals.
The key to a successful removal lies in patience, gentle handling, and thorough post-removal nail care to ensure the natural nails remain healthy and undamaged.
By following the proper steps and dedicating time to nail recovery afterward, individuals can confidently manage their acrylic nail removal and maintain the well-being of their natural nails, reinforcing the importance of mindful beauty practices.

Meet Isabella Anderson, your acrylic painting mentor with over a decade of brush-wielding mastery. Dive into the colorful world of acrylics with her expert guidance, featured exclusively on ‘Acrylic Authority.’ Unleash your inner artist and explore the limitless possibilities of this versatile medium alongside a true acrylic aficionado.
